2024 Projects

I’ve started to take more photos too on my trail runs so here’s one that I absolutely love. With all the AI in the world it’s pushing me to do more real things like taking real photos and building real things with my hands. I hope this blog inspires you to get out there and make some cool shit with your time here on earth!
Introduction
Ok, so after many, many months and multiple websites, I’ve finally put all my work up in one place. I moved it here because it didn’t really make sense on my personal site. Also, I wanted this site to focus more on deep dives into pottery—which I know not everyone is down for. But I see you, pottery geeks! I want to provide an unadulterated version of what I think you all want to hear.
As you can see, I’ve been a busy bee. I try to take on a few new projects and adventures each quarter, so I’m going to break down what I was doing, why I did it, and what I learned from each one. Again, these are all experiments—nothing here is really a production-ready piece of ceramics. It’s just me learning, trying different techniques, and showing off my progress. Mastery can come later!
If you buy any of these pieces, just know they may be slightly different, have minor imperfections, and/or defects depending on who you ask. I, of course, love and appreciate any support, so I’ve priced these fairly to be affordable for anyone who wants a piece of handmade ceramics.
Anyway… I digress as usual! Let’s jump into it!

Experiment #1: The Production Potter
Link to collection here
With this experiment, I wanted to use the same weight of clay for each shape and see how consistent I could make them with little to no measurement. This is a real test of skill because true masters—after making thousands of the same shape—can practically do it with their eyes closed!
I also tried to achieve consistency in glazing, which is incredibly tricky, especially in a shared studio where I don’t control the firing process. There’s a lot that can happen in the kiln that you just can’t predict. I was mainly testing my ability to throw with consistent thickness and dip each piece in glaze the same way.
For these, I used satin white and did a very quick dip—around 1-2 seconds—which is why they aren’t quite as bright white as some other pieces. The more creamy/caramel color means a quicker dip or a thinner piece. I didn’t take meticulous notes (whoops!), so I can’t say exactly why each variation occurred, but just look at the image—you can see how much each cup varies in color.
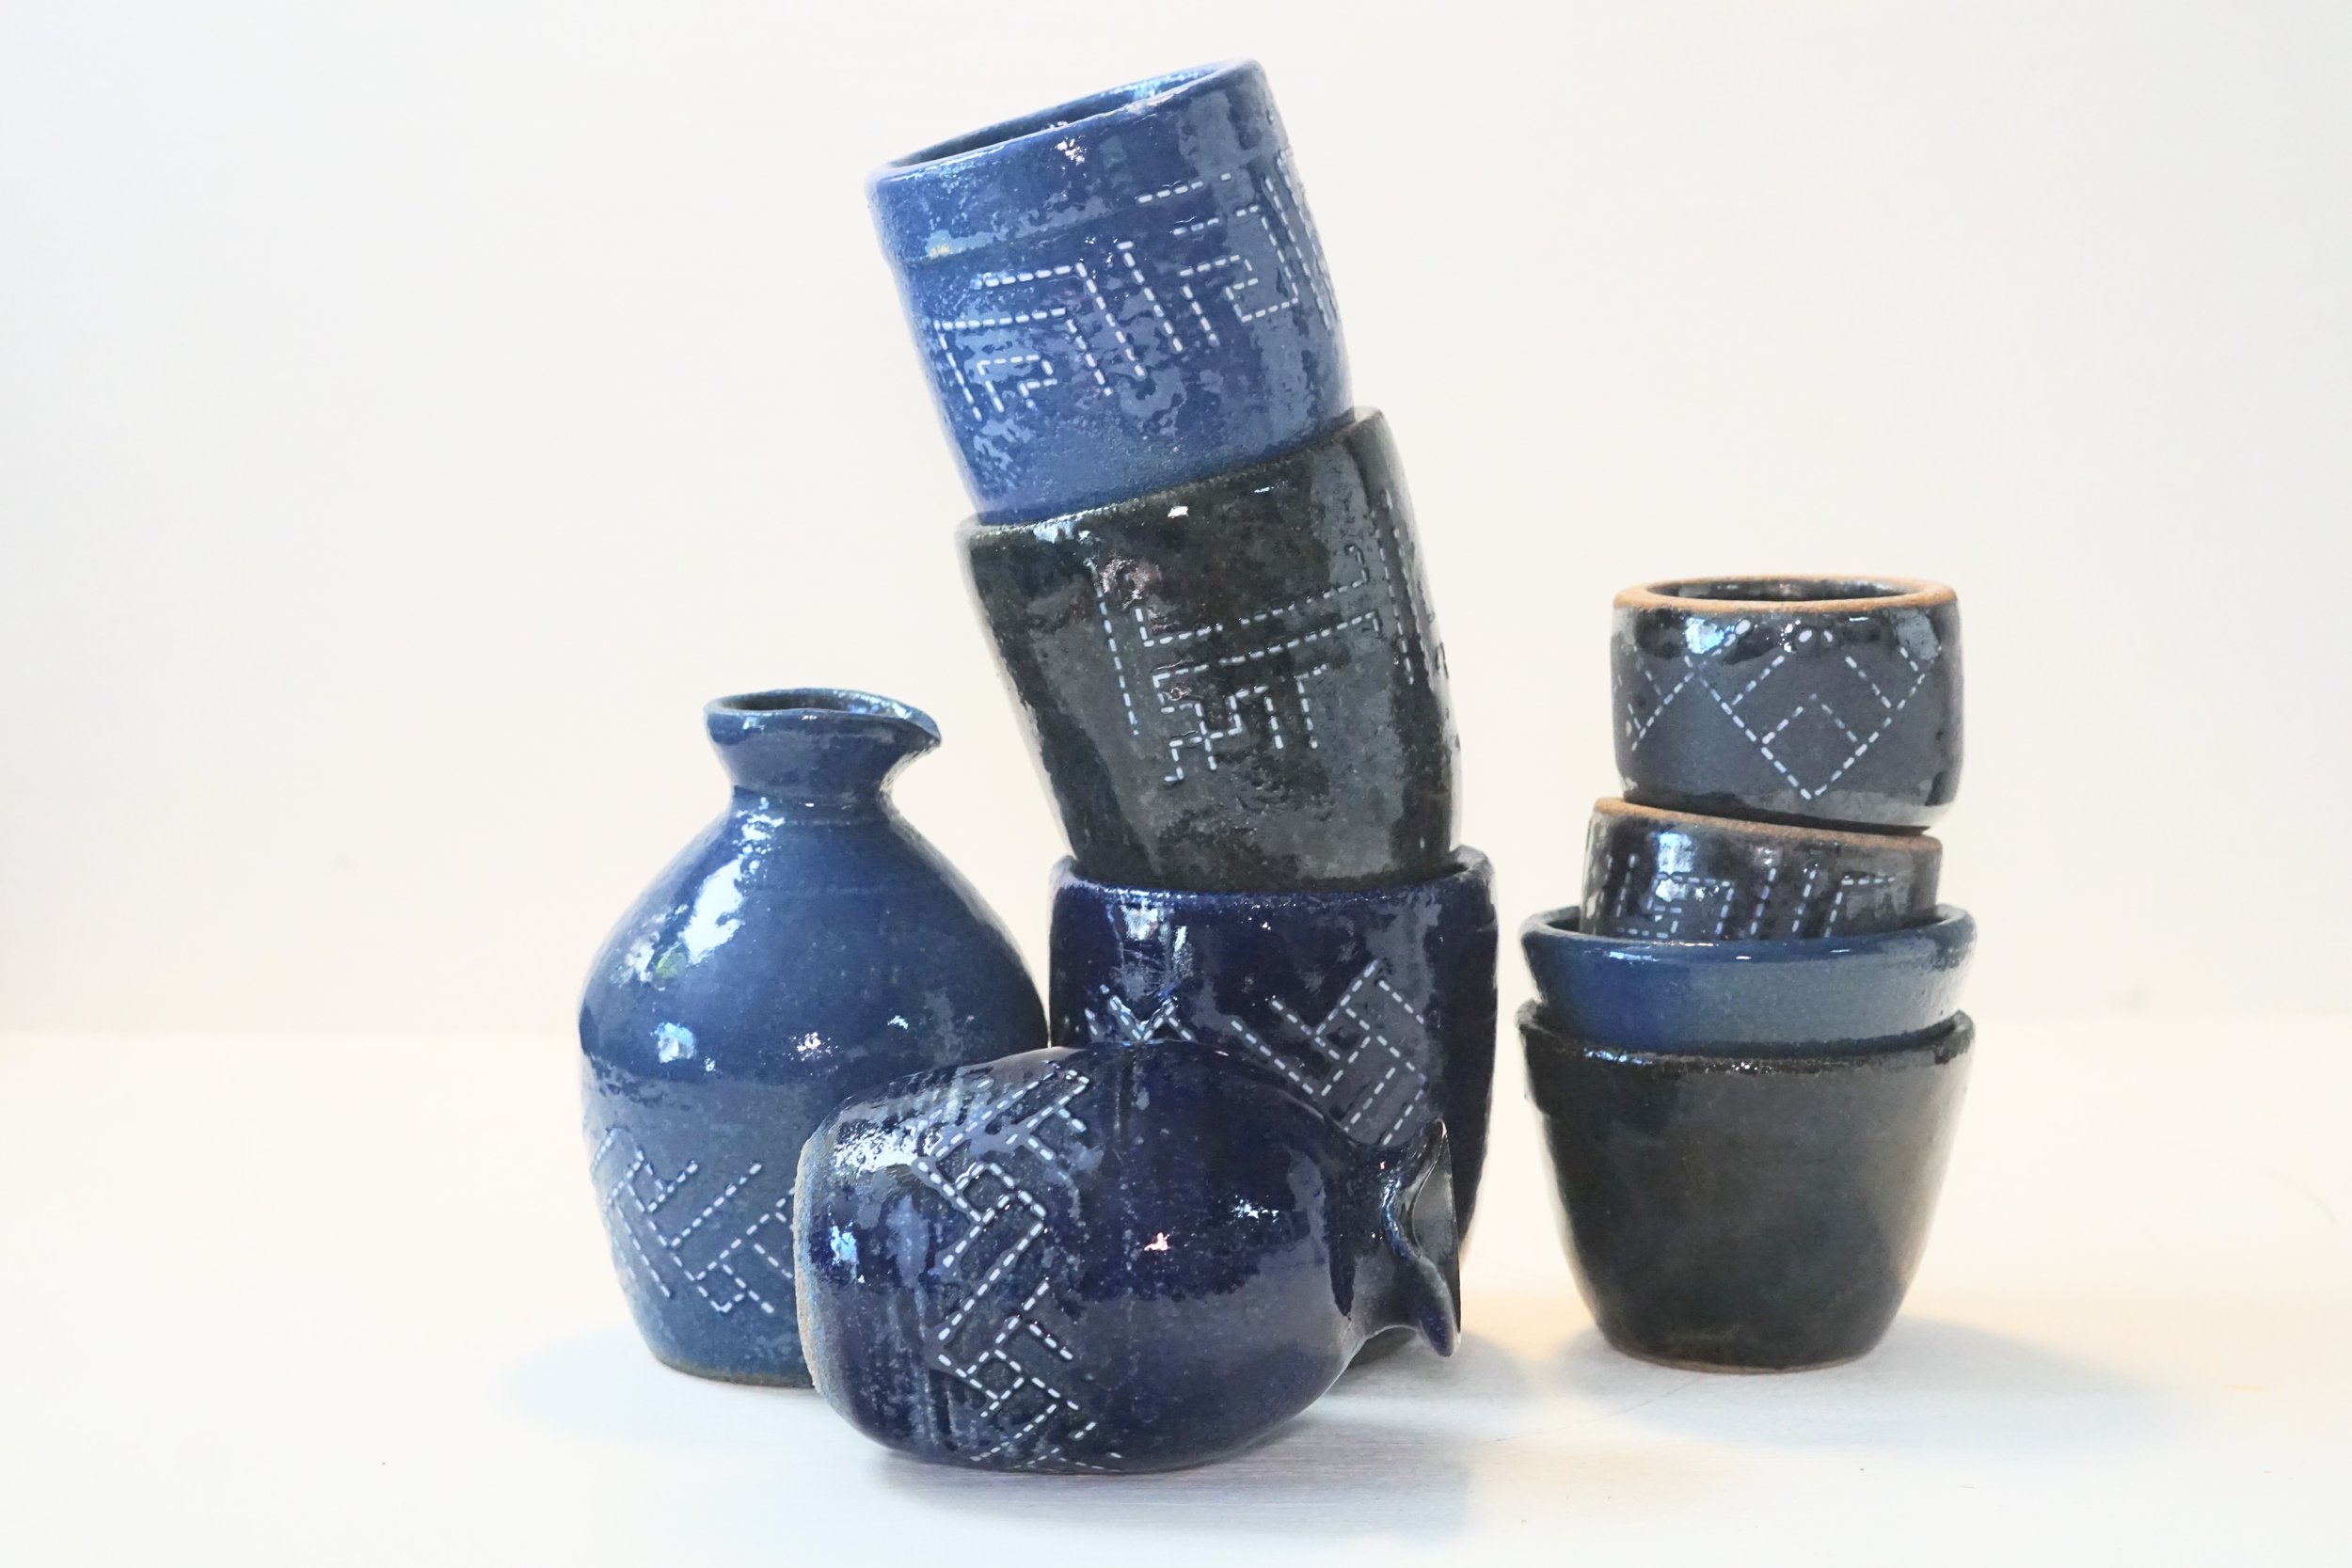
Experiment #2: Sashiko Stitching
Link to collection here
For this one, I worked with a friend who loves Japanese Sashiko and Boro stitching, and we wanted to see if I could bring that aesthetic to pottery. This was so tough, but I think I pulled off the look I was after!
The process was pretty simple: I threw the shapes I wanted—sake cups, tumblers, and carafes—trimmed them, and then, while they were leather-hard, applied porcelain slip in a sashiko stitching pattern I bought online. After letting the slip dry slightly, I pulled off the template to reveal the design.
After bisque firing, I painted on different blues (since my friend was looking for a denim effect) and fired them again. Some of the stitches stuck up a bit more than expected, so I had to sand them down—meaning I lost a bit of glaze in some spots. Not the best way to do this! Next time, I’d probably apply the pattern by hand or use stitch pattern rollers. I also might try incorporating the templates directly into slab-built pieces instead. But overall, super fun! I highly recommend playing around with slip.
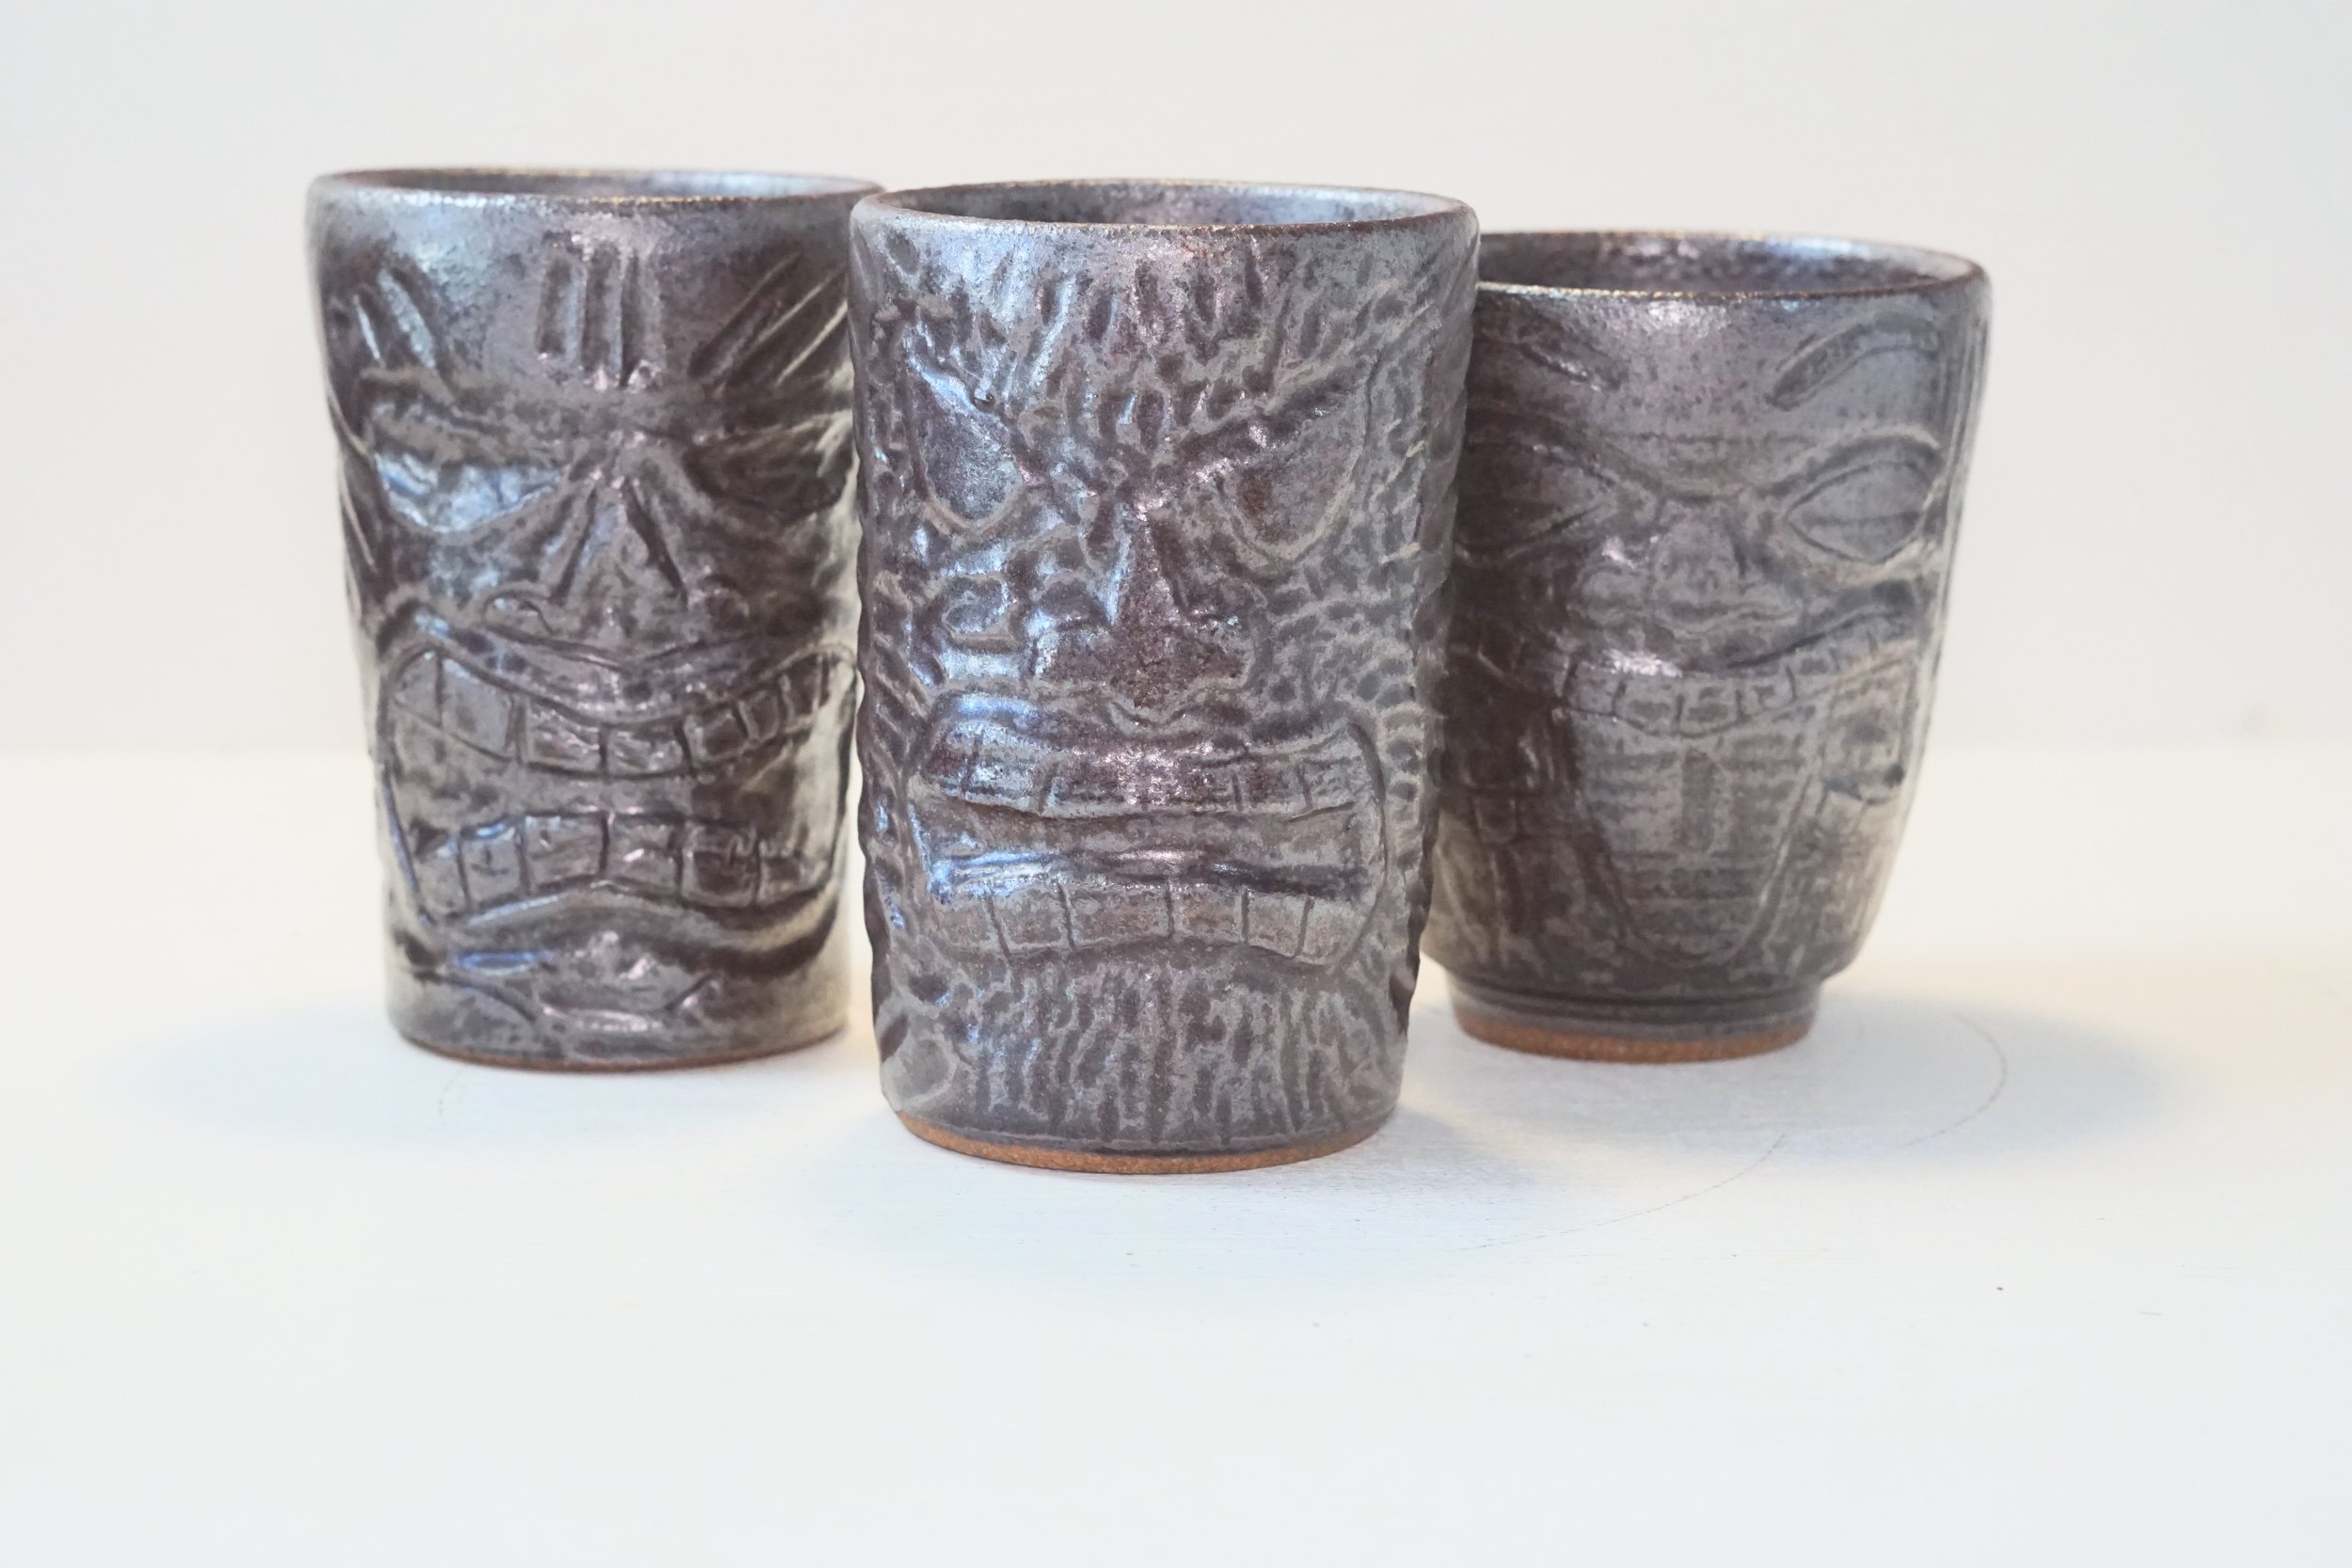
Experiment #3: Carving
Link to collection here
A friend suggested I make Tiki cups to commemorate a rescheduled vacation for my 40th birthday. One of these mugs is a cat Tiki mug dedicated to our cat who was sick. The process helped me cope with the stress of November’s bad news.
I don’t consider myself an illustrator, so this was outside my comfort zone, but I found carving to be incredibly relaxing. The loose nature of the Tiki style worked well with my lack of drawing skills.
Carving is a great skill to practice! Instead of trimming everything down to nothing, try carving a little 1/3 1/3 1/3 foot or adding some small patterns to break things up. Give it a shot!

Experiment #4: Marbling
Link to collection here
I became obsessed with marbling after trading a piece with a fellow potter in our studio. Since I had recently lost my job, I started collecting leftover clay from the studio to save money. This led to an unexpected abundance of random clay types, and I decided to marble them all.
Here’s what I learned:
You can experiment endlessly with layering different clays and colors.
Be mindful of shrinkage rates—using clays with mismatched shrinkage can cause issues.
Porcelain and Black Mountain clay create a striking contrast, but they are difficult to throw together due to their differing textures.
Trimming is crucial—marbled pieces need extra trimming to reveal the beautiful layered effect.
Now, I’m primarily using B-Mix clay because it has a similar shrinkage rate to darker clays, producing a more stable (though less dramatic) marbled effect.
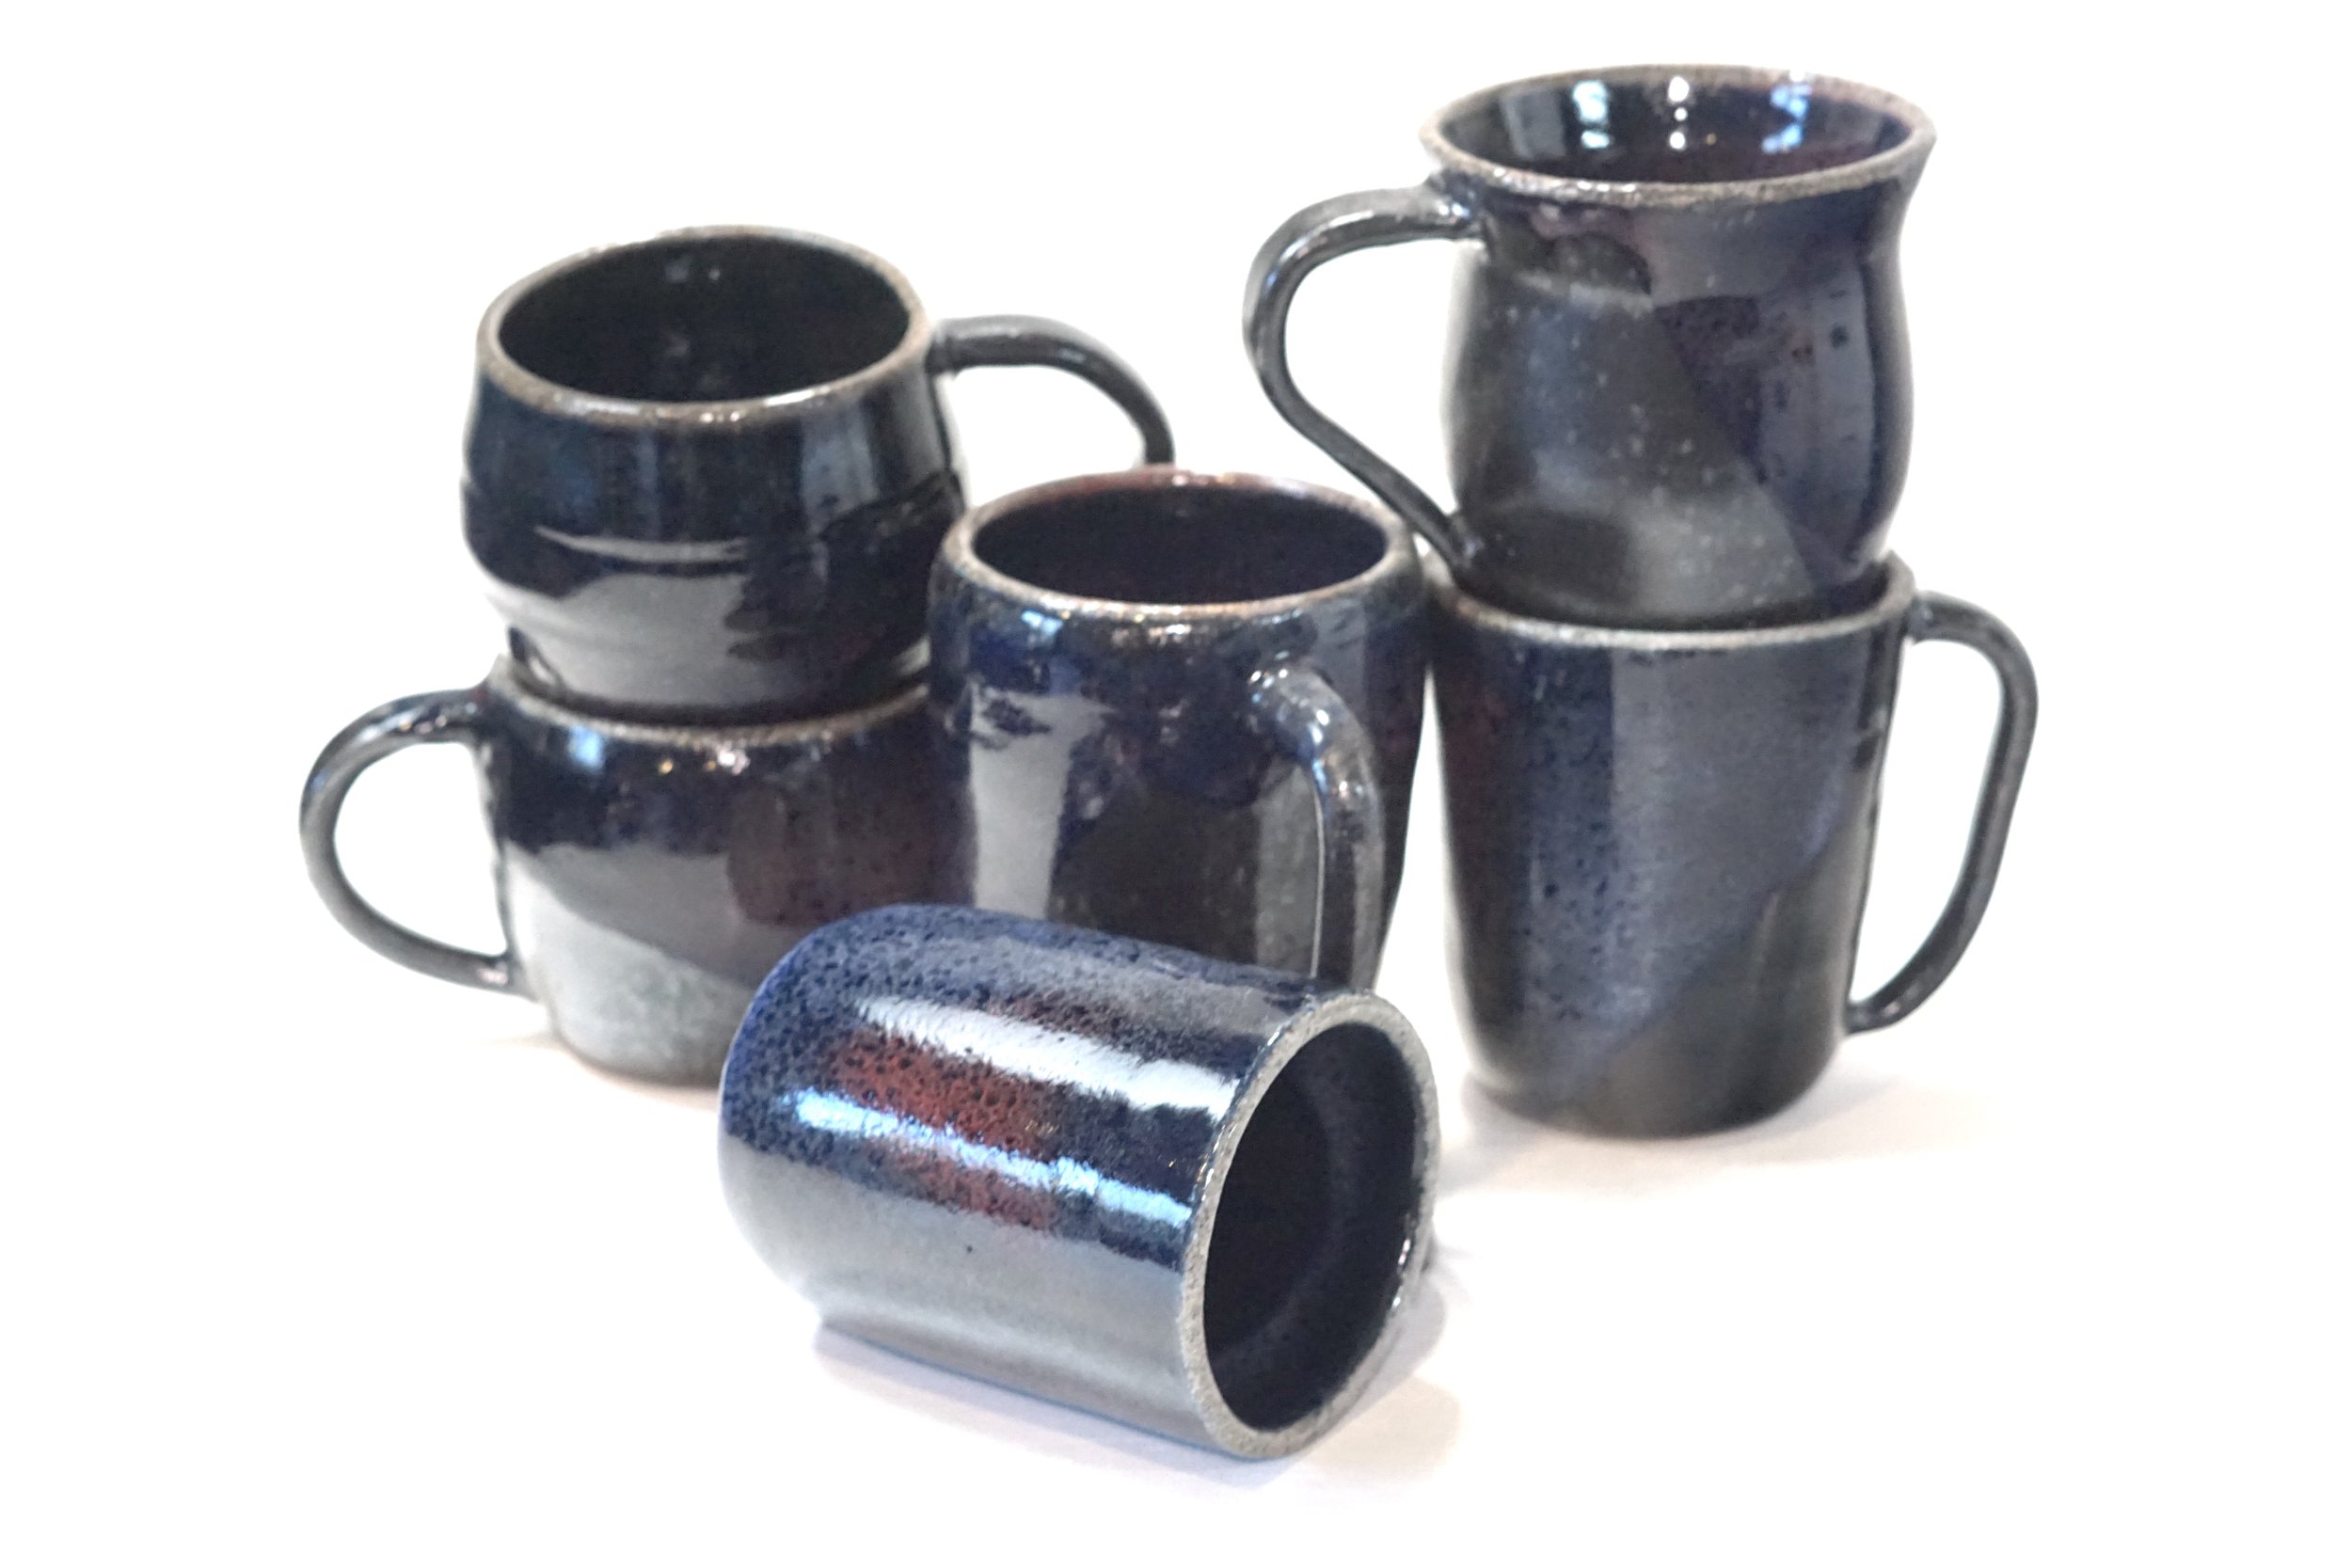
Experiment #5: The Double Dip
Link to collection here
Double dipping is notoriously difficult. Honestly, I probably should have mastered single dipping first (as my studio owner reminded me multiple times), but here we are.
I first tried a glossy blue and white combo that looked like ocean waves. Beautiful, but crazy runny—be careful with glossy over glossy! In my latest attempt, I layered copper red over Saint John’s black. It almost ran off the piece, but I got lucky.
Lessons learned:
Watch your glaze thickness.
Avoid double dipping near the base.
If the glaze is too thick, smooth it out before firing.
Definitely revisiting this technique!

Here’s another piece I double dipped, you can see where the yellow is darker how much it ran on the piece. I dipped in about 1” of the top so it ran a LOT.
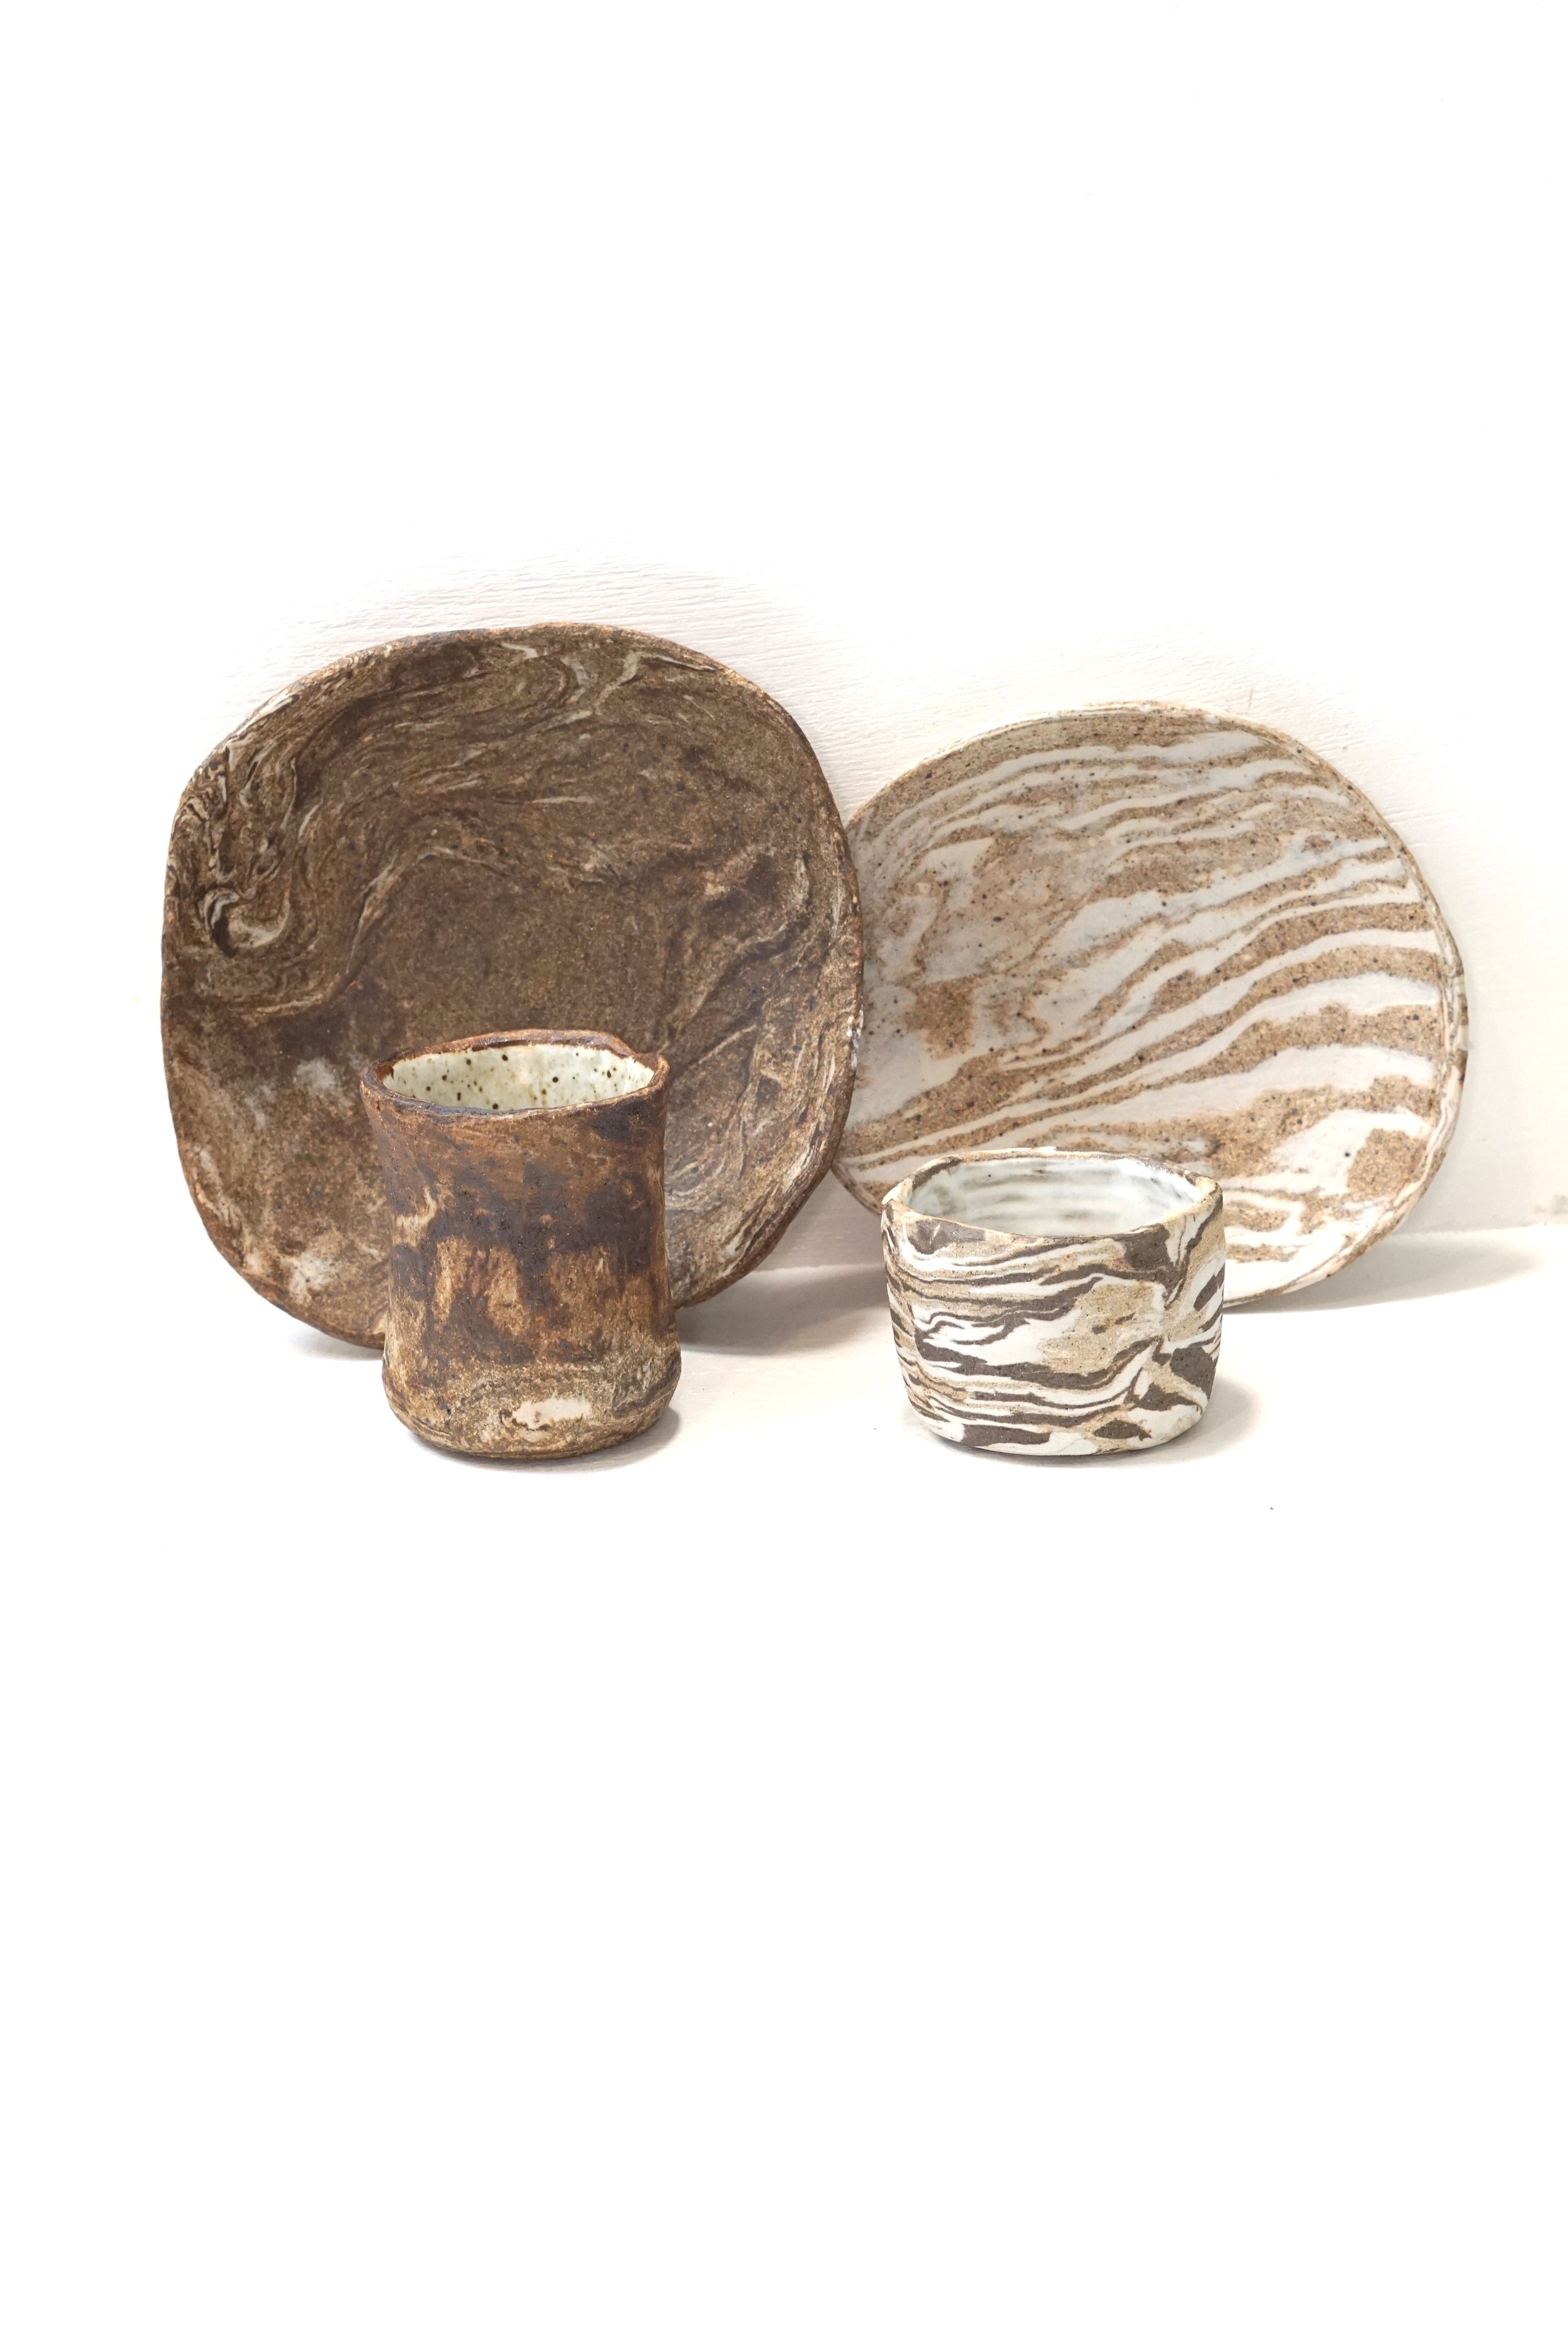
Experiment #6: Nerikomi & Handbuilding
Link to collection here
This one is still a work in progress, but I wanted to share! My goal is to work up to tinted porcelain with Mason stains, like the real Nerikomi artists use.
For now, I’ve been layering porcelain and B-Mix, cutting patterns, and shaping them into plates and cups. My biggest project? A bento box! Everyone at the studio has been following its progress, and it’s been such a fun challenge.
Some tips if you want to try this:
Let mixed clay settle before using it.
Join pieces properly with slip and vinegar.
Compress everything to prevent warping.
Dry it slowly to avoid cracks.
This project has been a great distraction from life’s chaos, and I can’t wait to make more bento boxes!

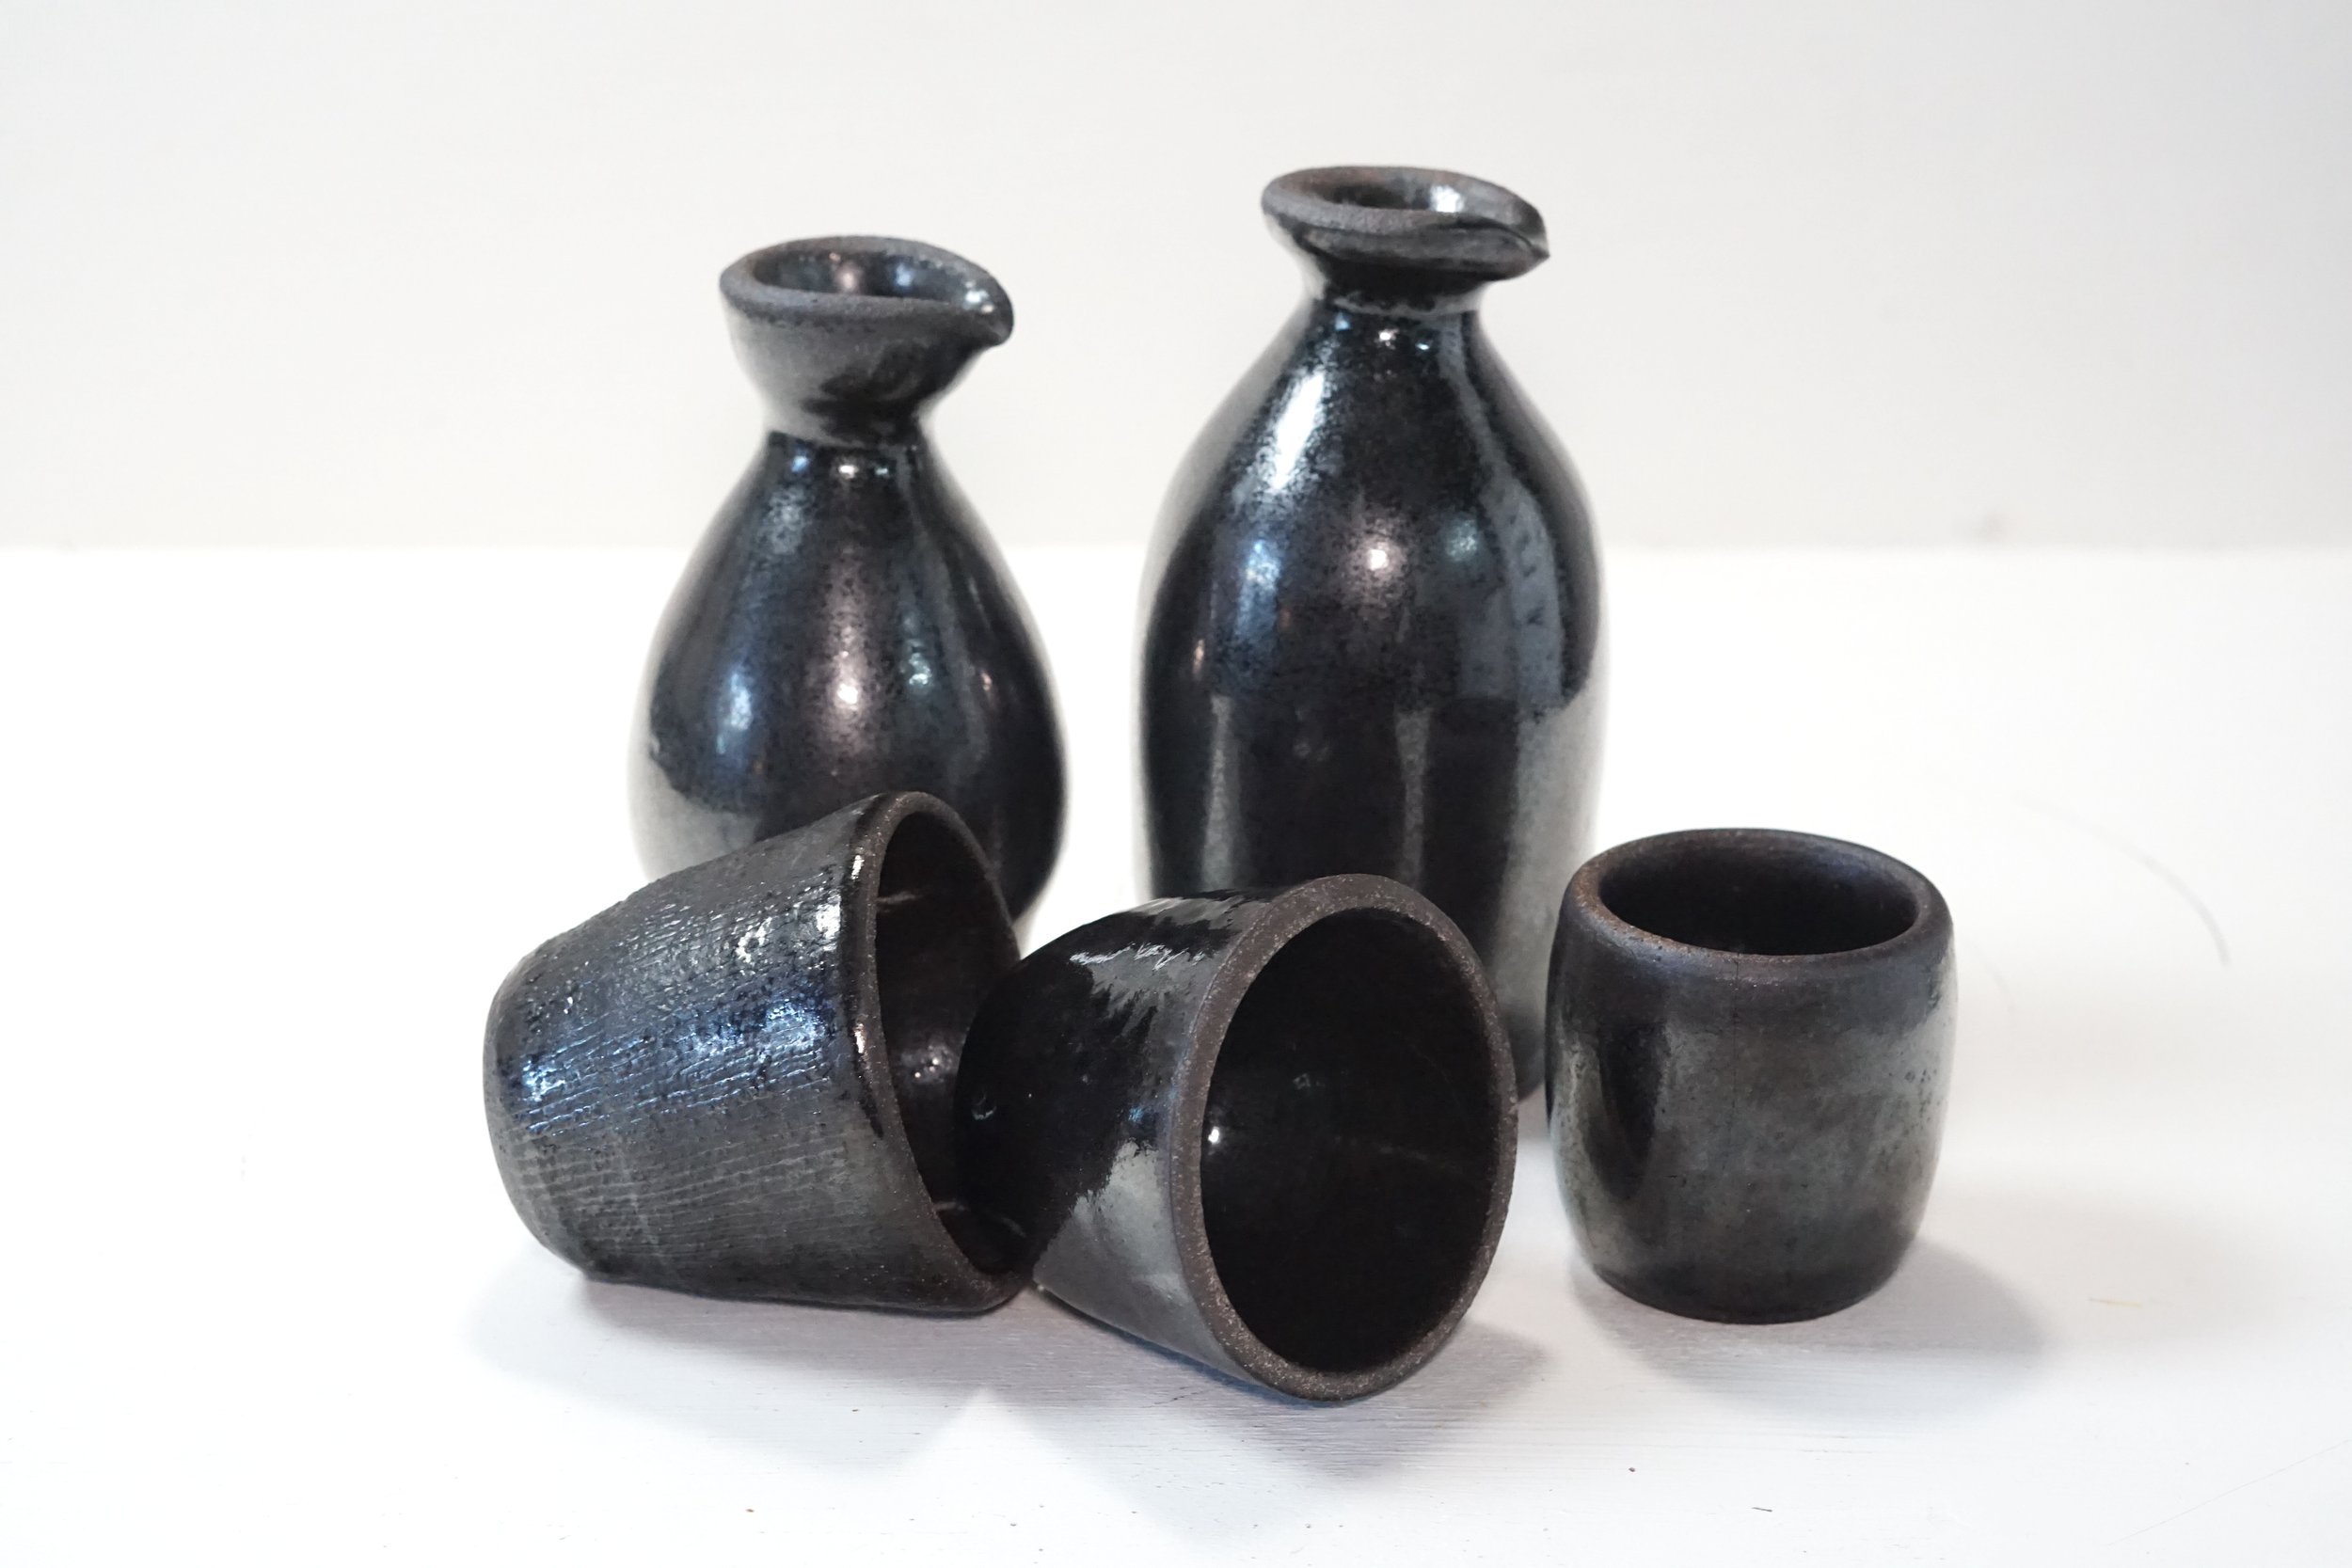
Experiment #7 Narrow Necks, Sake Sets
Link to collection here
Throwing small sake cups, narrow-necked vessels like sake carafes, and making the spouts was all incredibly challenging—but I learned so much in the process. I found it really fun because I hadn’t attempted any of these shapes before. Up until now, I had been focused on building large bowls and vases, so this was a complete shift in technique.
This experiment forced me to be more mindful of my hand positioning and really gentle with the clay. Making a narrow vessel requires careful tapering after it’s been thrown, which means leaving extra clay in strategic areas to shape it properly. If you narrow the vessel too quickly, you risk pulling the top off or twisting the clay, so patience is key.
I also really enjoyed making the spouts, even though they were tricky. You have to catch the clay at just the right stage—soft but not too soft—otherwise, you end up with rough, scraggly slip everywhere. Thankfully, none of the spouts dribbled, which is a common issue!
My only complaint about this set is that they turned out quite small—more like sauce-sized cups rather than drink-sized, as they only hold about four shots. Oh well! It was a great learning experience, and that’s what really matters, right?
Conclusion
There were also plenty of other random projects I experimented with earlier in the year, but I didn’t want this blog post to spiral into an overwhelming TL;DR situation.
To wrap things up neatly, I encourage you—regardless of what craft or skill you’re honing—to keep pushing yourself into the unknown. Personally, I thrive on not knowing what I’m doing; arguably, that’s how I’ve stumbled through most of my life. I love it because it forces you to connect with people, ask for help (which I’m still terrible at), make mistakes, learn, explore new places, unlock hidden parts of your brain, discover skills you never knew you had, and experience so many other incredible things! Plus, it completely wipes me out, helping me sleep better at night.
Anyway, I hope this inspires all the potters who follow me, as well as anyone who makes things or strives to improve each day. Or maybe it just serves as a positive distraction from the ever-growing despair that the world sometimes feels like it’s spiraling into! (I know, I’m dark—but isn’t that why you love reading this stuff?)
Thanks for reading!